➡️ How to direct stake
Learn how to direct stake to your favorite validator.
Direct staking lets you choose the validator your vSOL supports. You pick a validator once and set your wallet to it by approving a transaction, then stake SOL for vSOL. Keep your vSOL in a trackable location, such as that wallet or a supported DeFi integration, or it becomes undirected stake, which The Vault's default delegation strategy places.
You need a Solana wallet such as Phantom or Solflare. Every step that changes something asks you to approve it in your wallet.
Direct stake your SOL
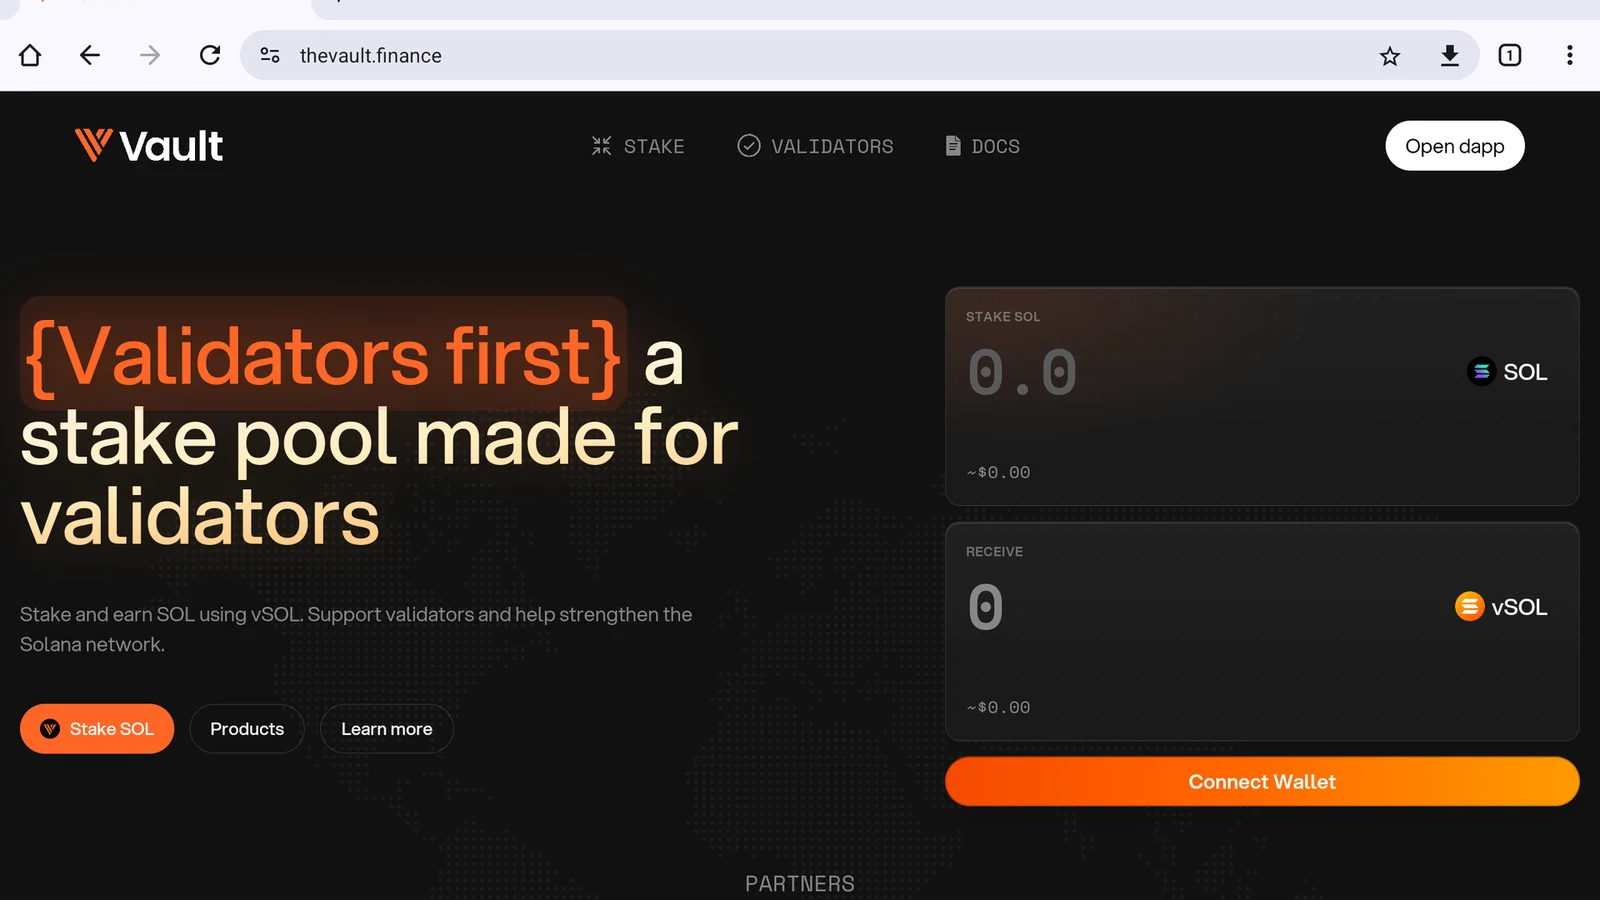
Open the dApp
Tap Open dapp in the top-right corner (Figure 3.2).
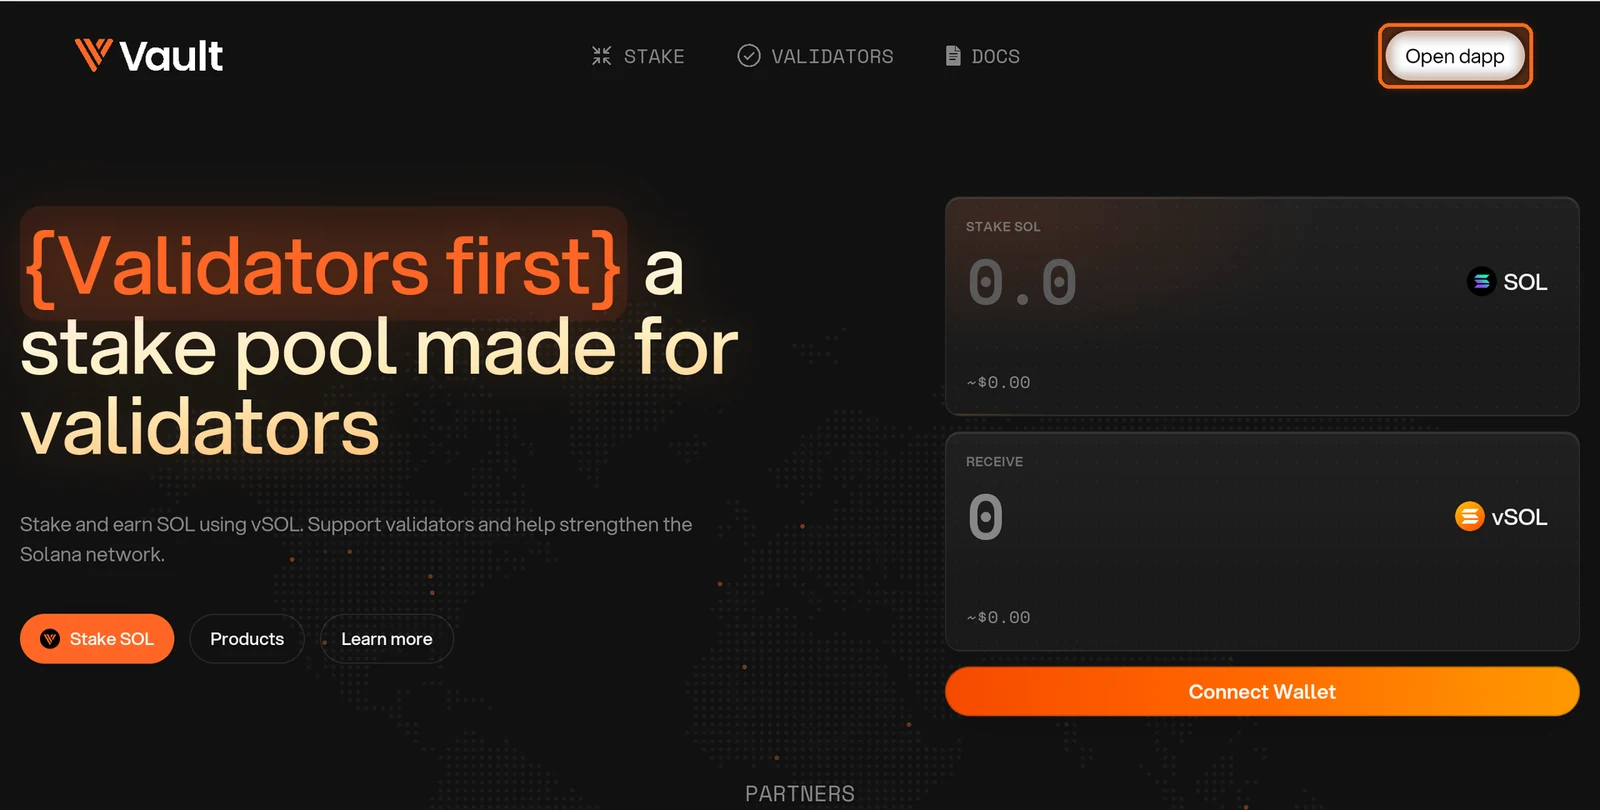
Figure 3.2: Open dapp button in the top-right corner
Accept the terms
The first time you visit, tick both boxes to accept the Terms of Service and Privacy Policy, then tap I Agree (Figure 3.3).
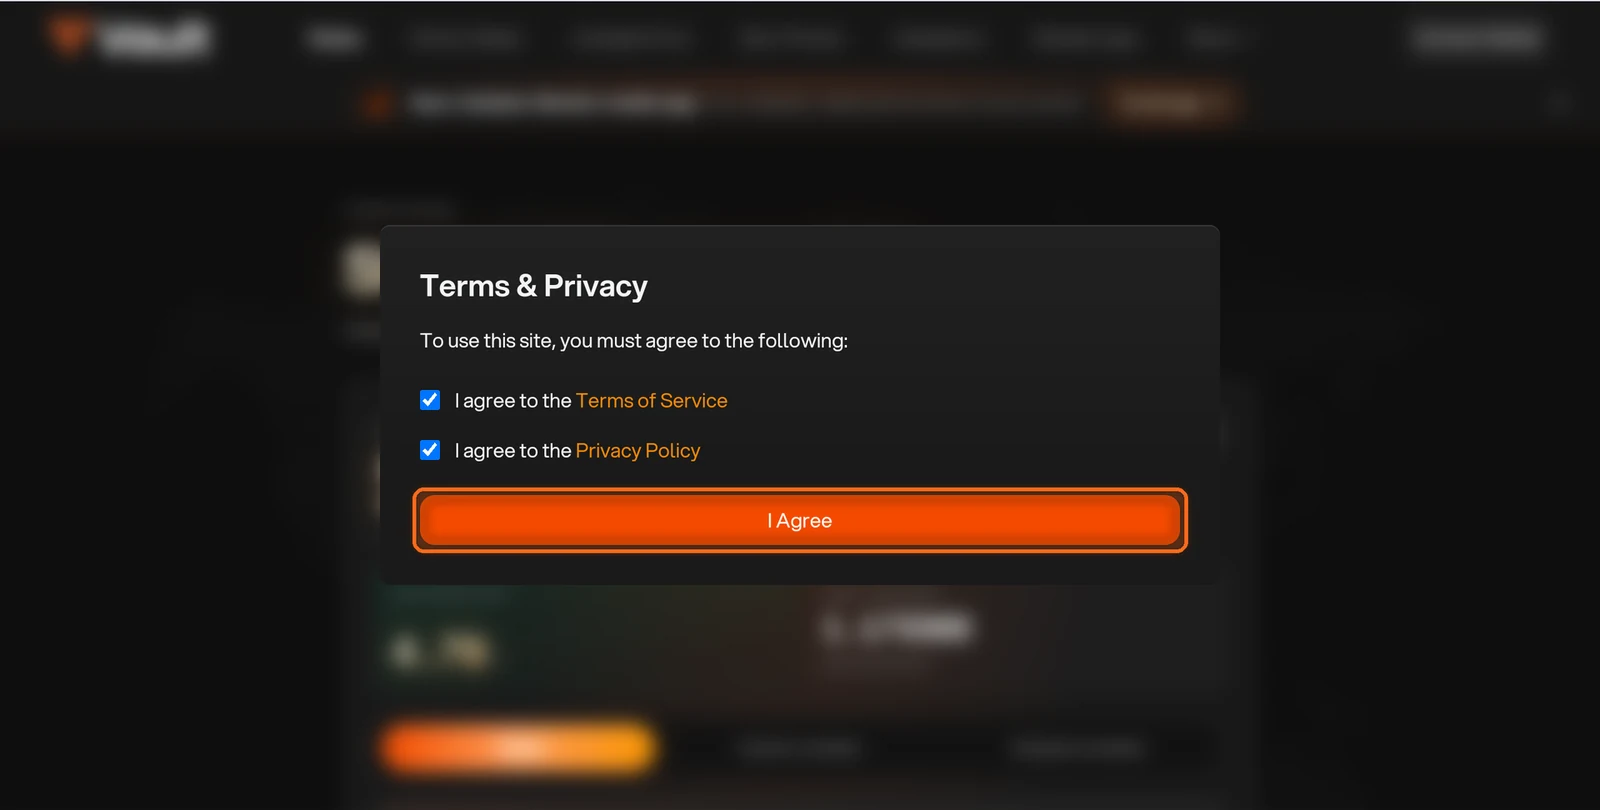
Figure 3.3: Terms and Privacy dialog with I Agree button
Open Direct Stake
Open Direct Stake in the top navigation (Figure 3.4).
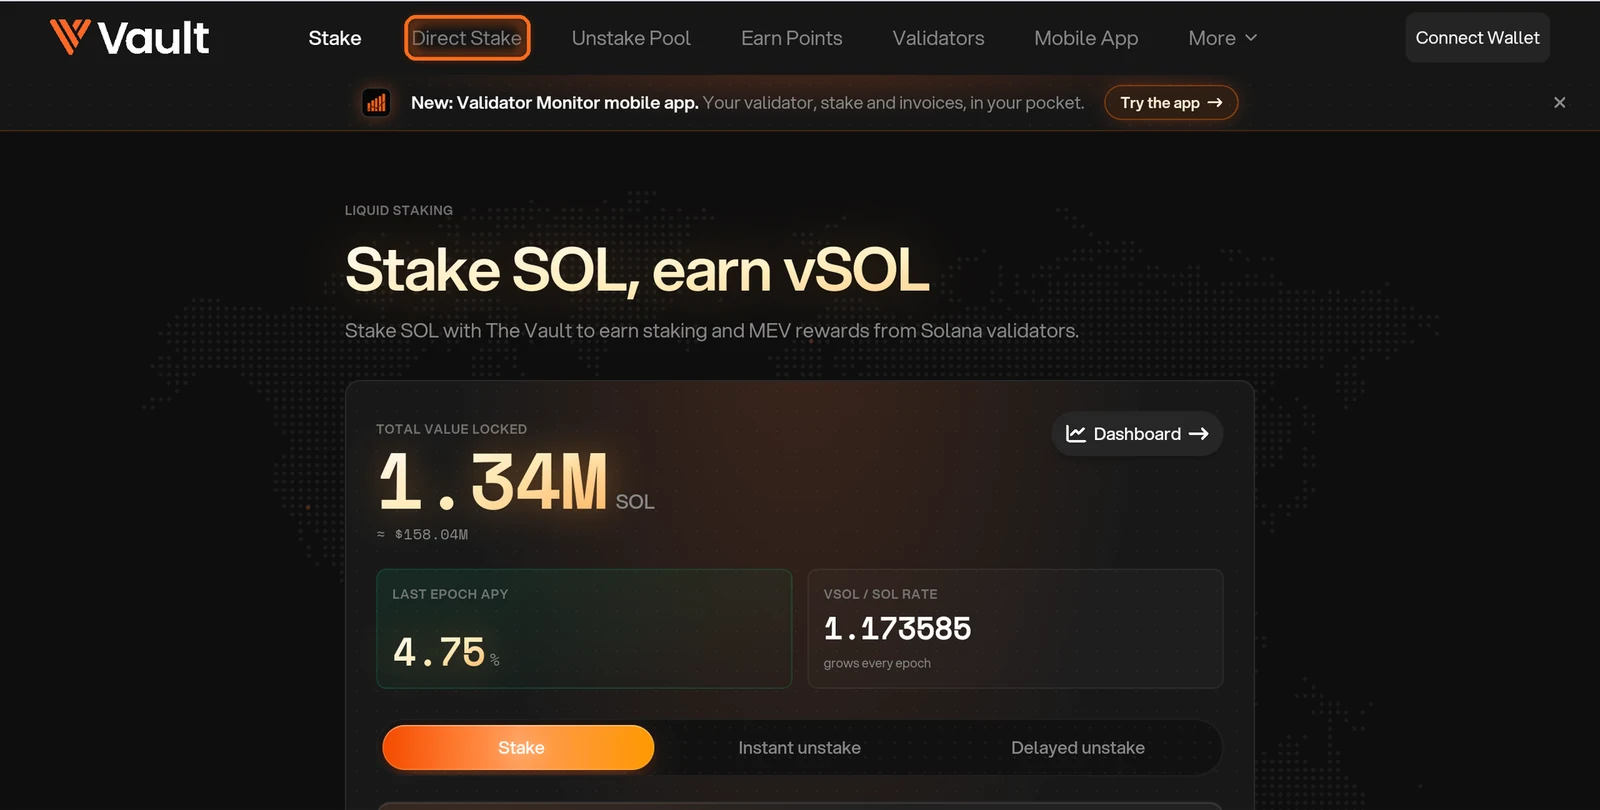
Figure 3.4: Direct Stake in the top navigation
Search for your validator
Under Choose a validator, search for your validator by name or vote account (Figure 3.5).
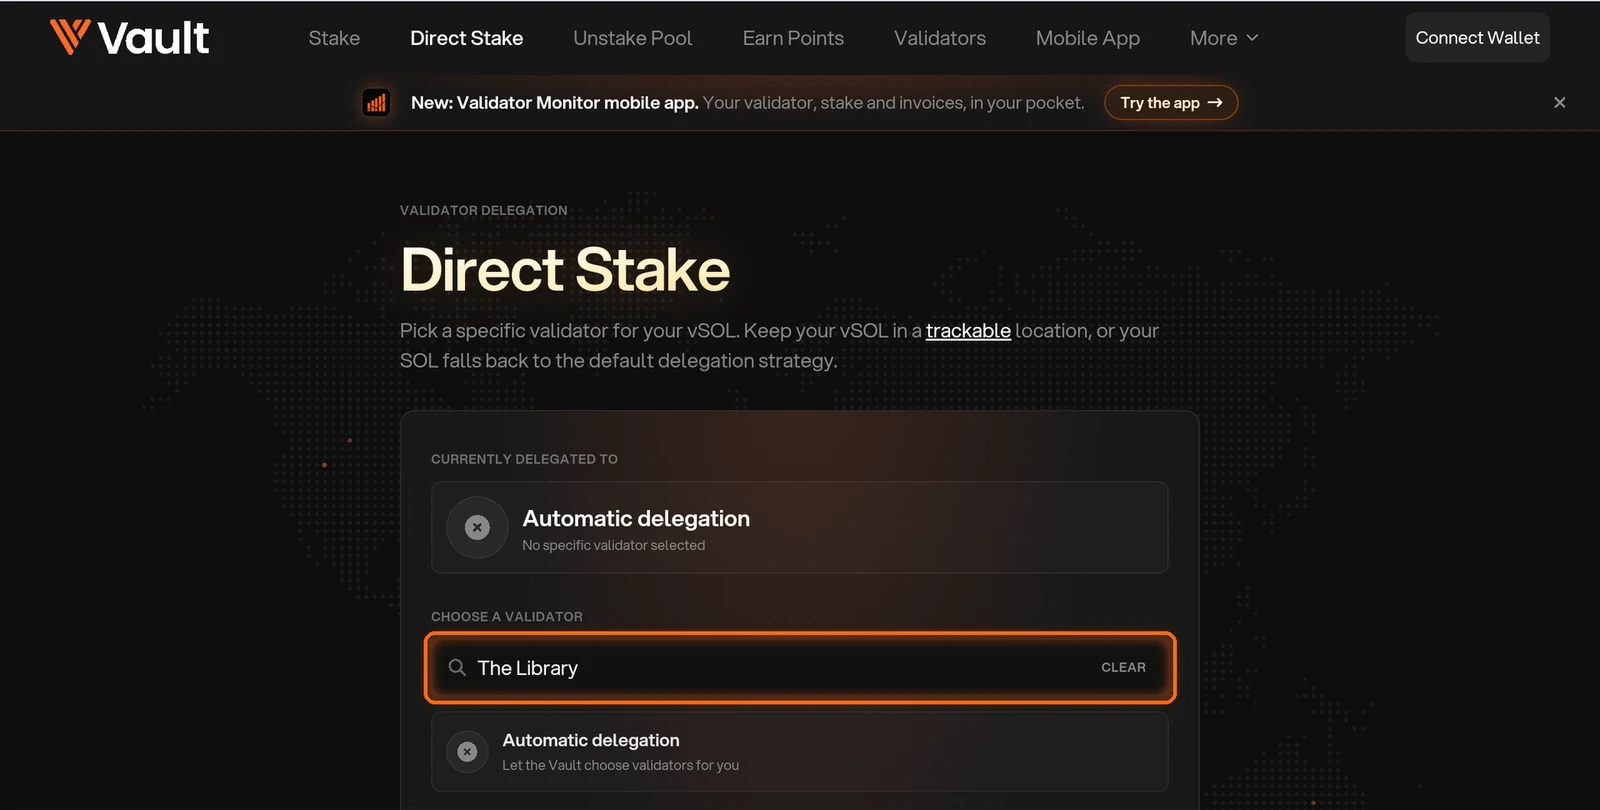
Figure 3.5: Validator search box
Select your validator
Tap your validator in the list. It is marked Selected (Figure 3.6).
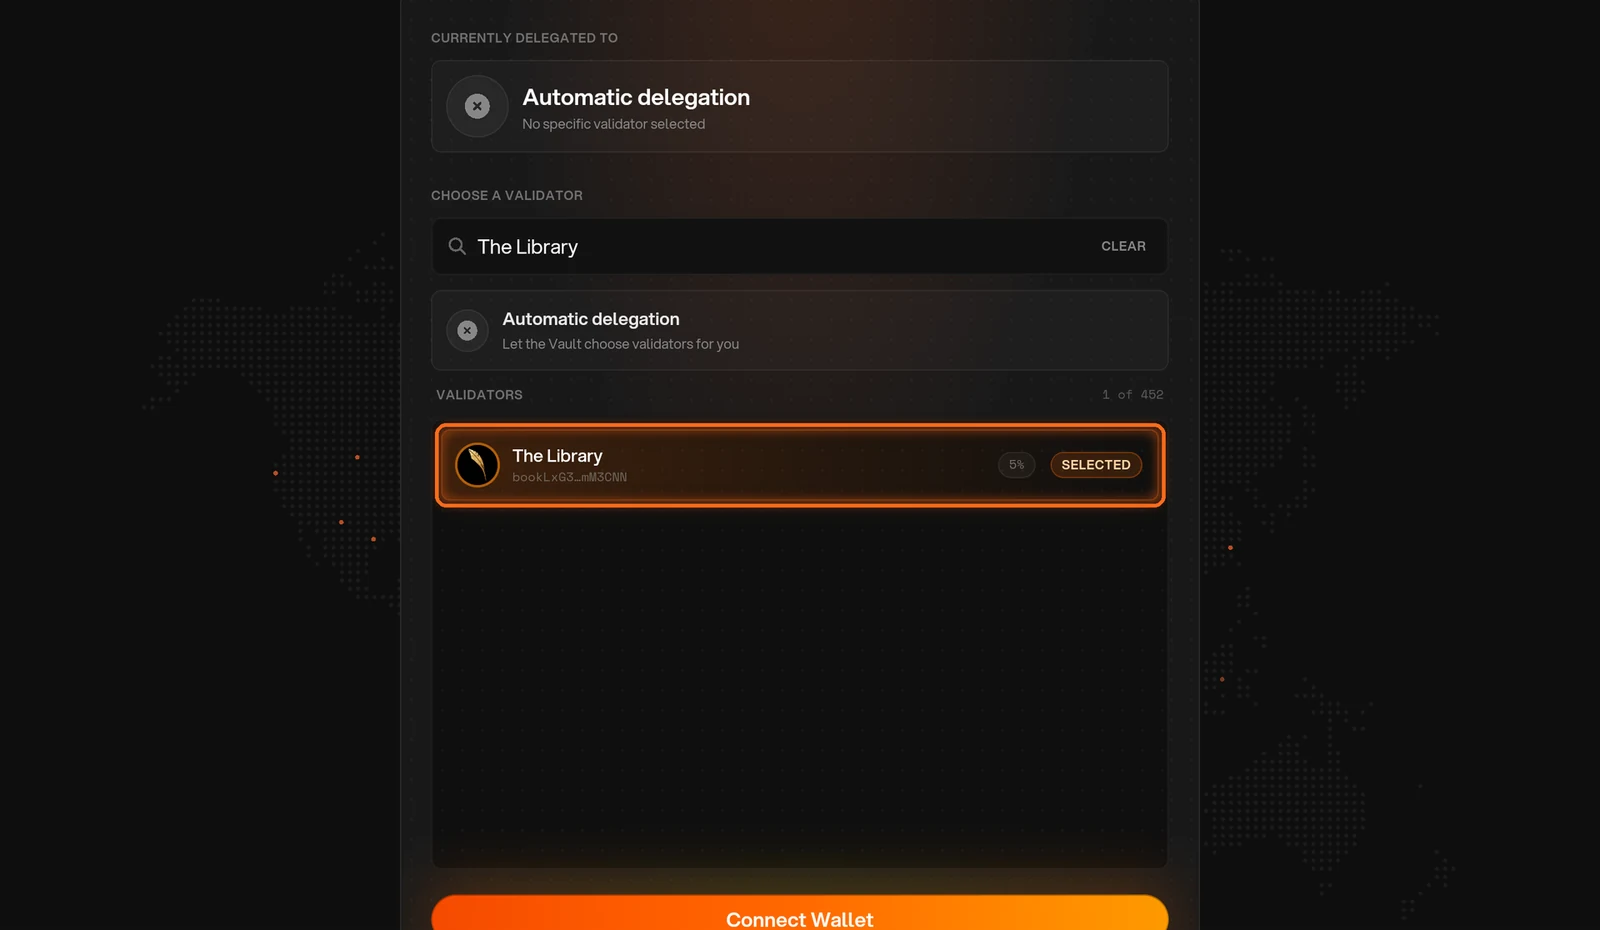
Figure 3.6: Selected validator in the list
Set your wallet to your validator
Tap Connect Wallet and choose your wallet (Figure 3.7). Then tap Direct Stake and approve the transaction in your wallet. This sets your wallet to your validator: once it confirms, your validator appears under Currently delegated to.
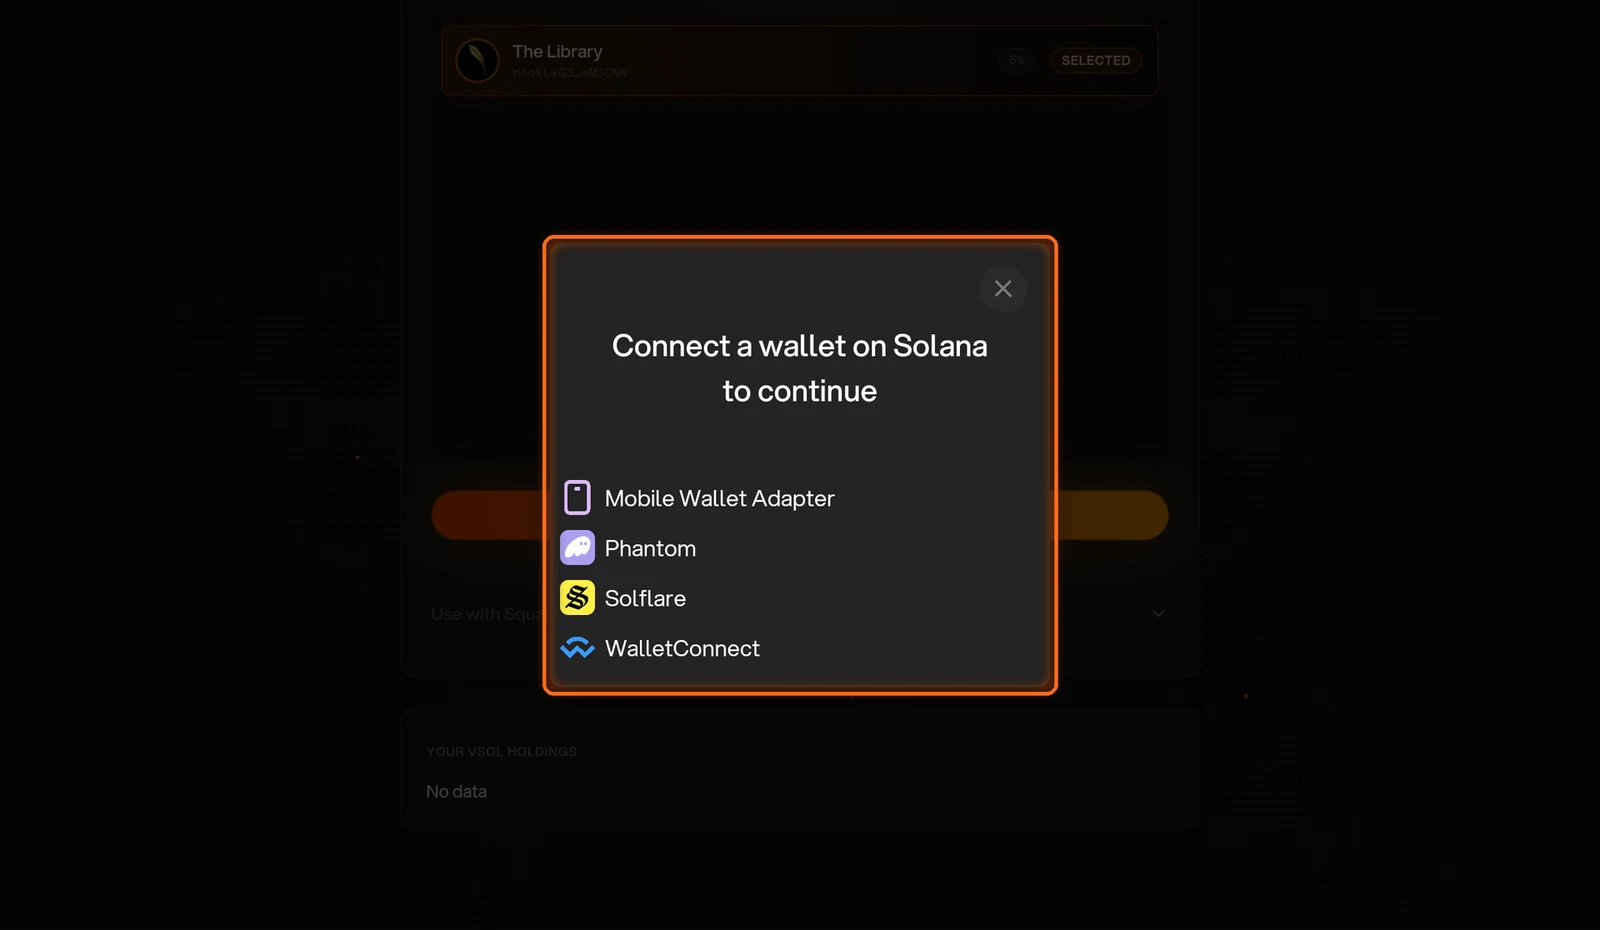
Figure 3.7: Wallet selection dialog
Open the Stake page
Next, open Stake in the top navigation (Figure 3.8).
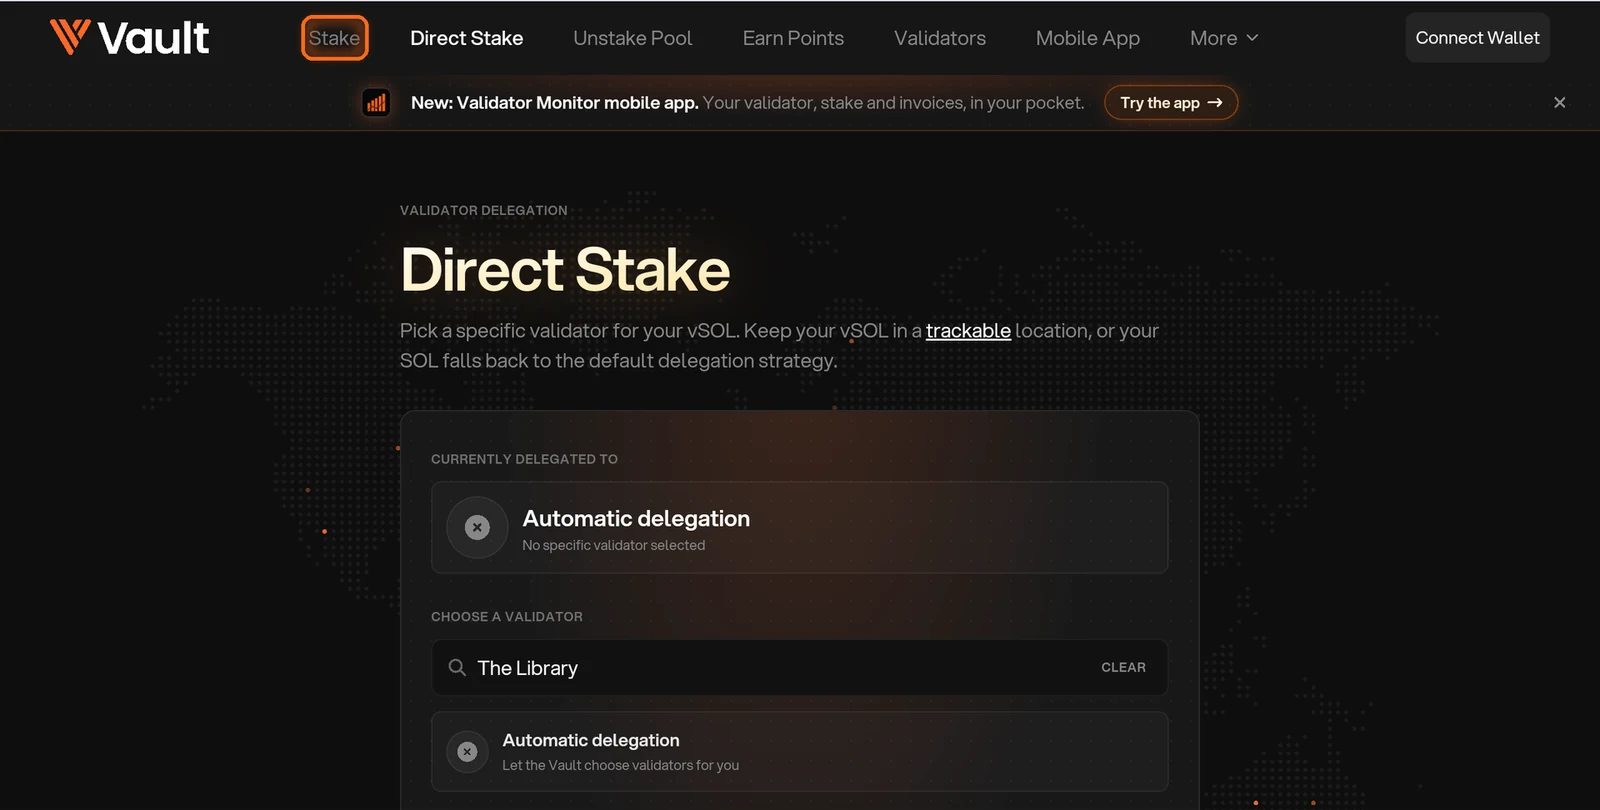
Figure 3.8: Stake in the top navigation
Enter the amount to stake
Enter how much SOL to stake. The vSOL you will receive is shown below it. You receive less vSOL than the SOL you stake because each vSOL is worth more than 1 SOL: it keeps growing with staking rewards, shown as the vSOL / SOL rate above the form (Figure 3.9).
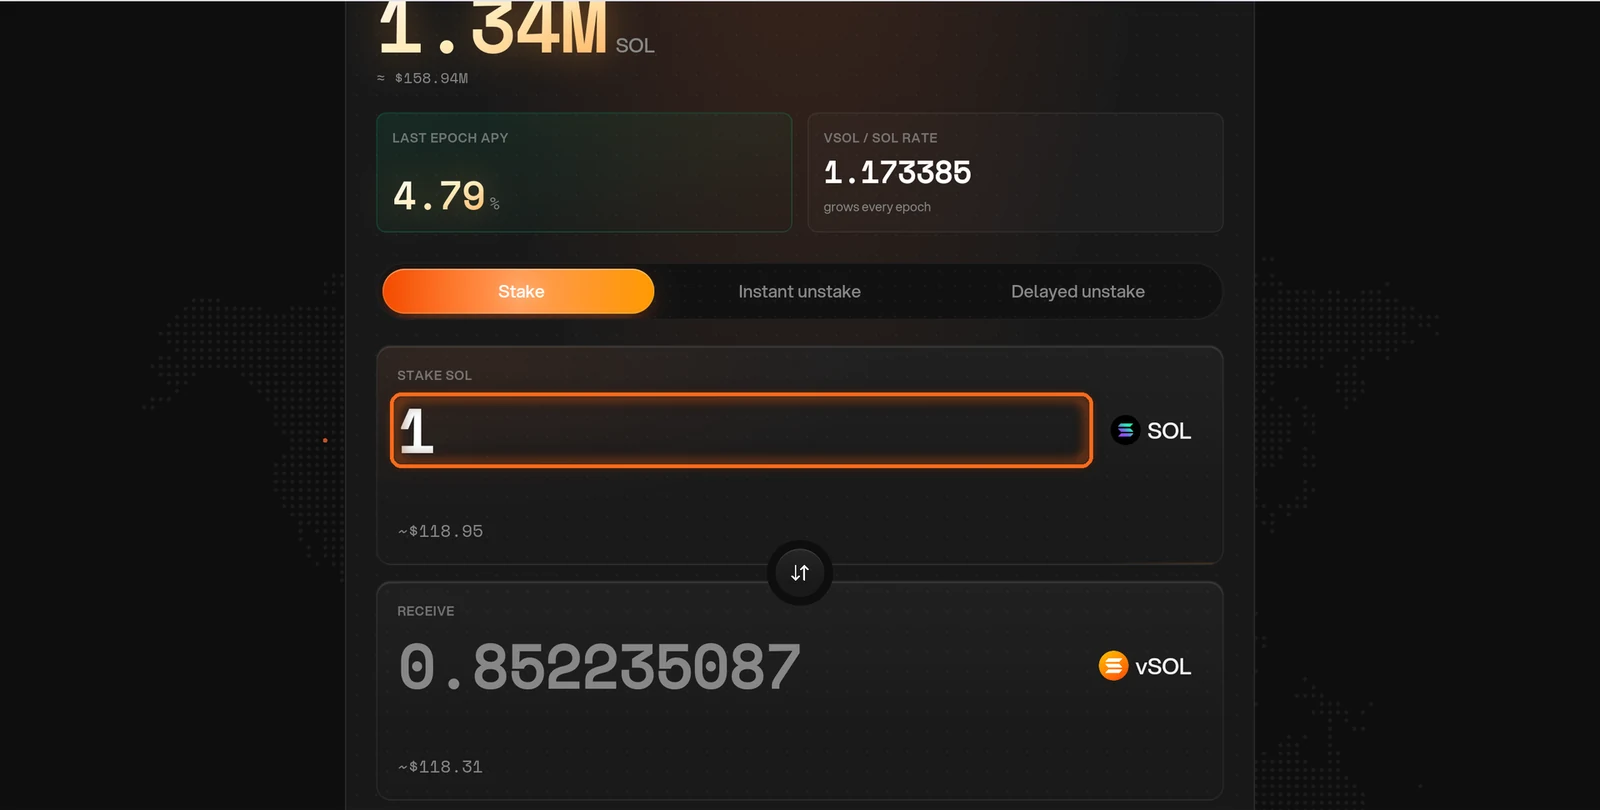
Figure 3.9: SOL amount field with the vSOL you receive
Approve the stake
Tap Connect Wallet, choose your wallet and approve the stake. Your new vSOL is directed to the validator you chose, and you can follow it on the Direct Stake page (Figure 3.10).
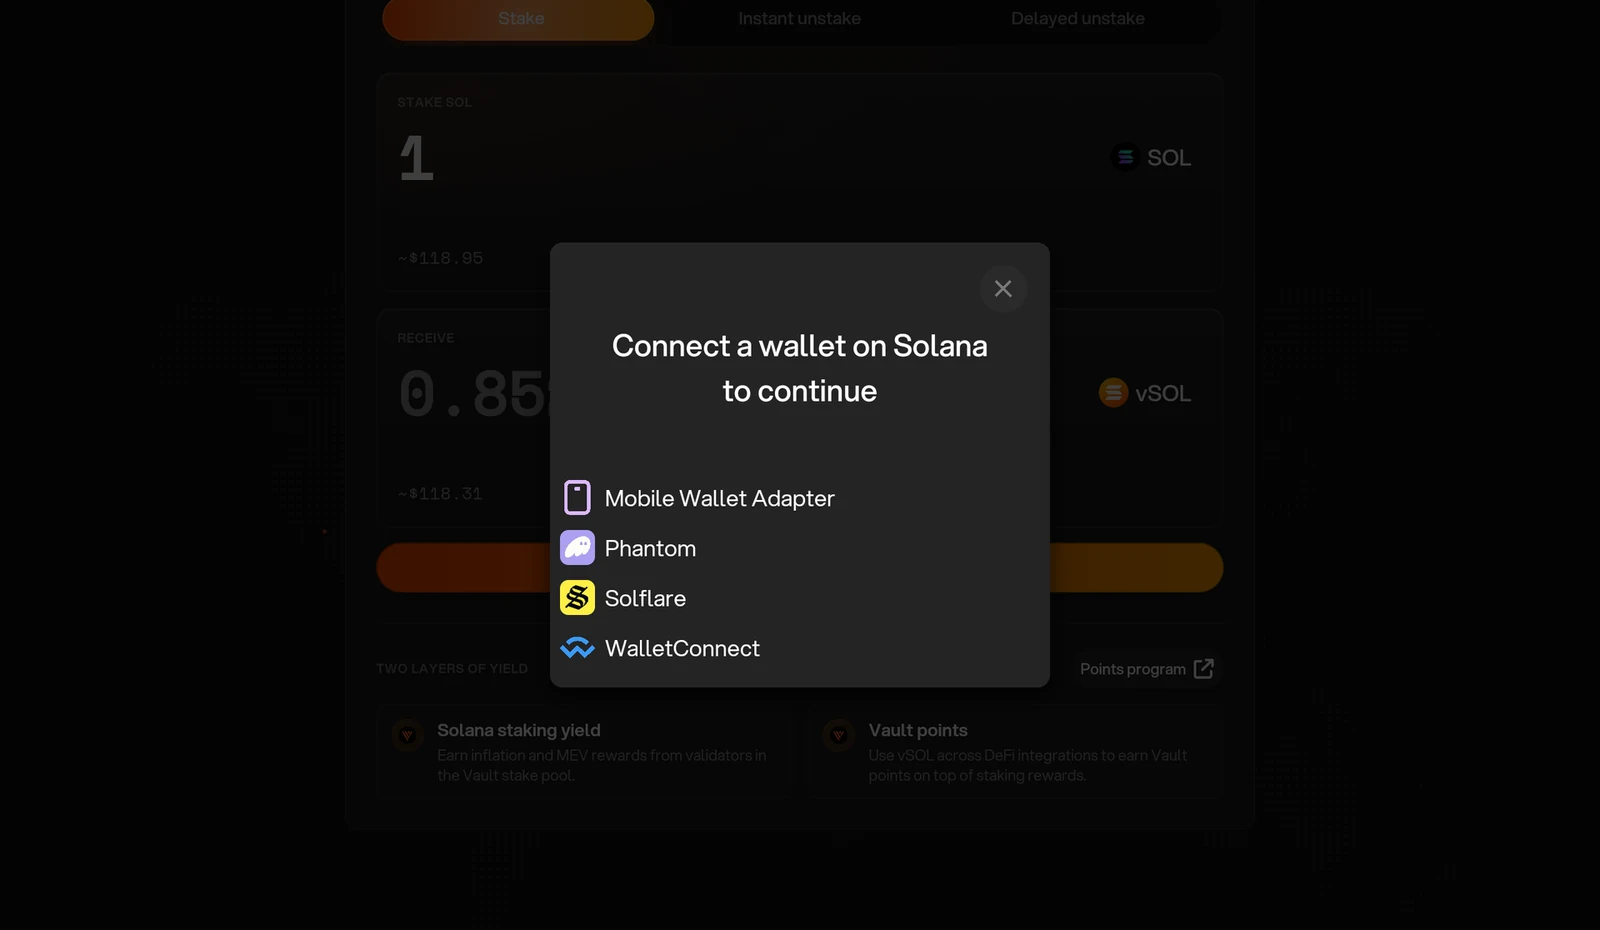
Figure 3.10: Wallet selection dialog